The art behind the rendering
· Automatically translated from Italian
Federico Biancullo
Federico Biancullo is the author of the CTRL+Z blog, which focuses on architectural visualization and representation. He currently works as an architectural visualizer at Mecanoo in Rotterdam. Who better than him to reveal the secrets of creating a good rendering? We at 120g are very interested in this topic, so here’s the essay he wrote for us!
Those who are new to the world of architectural visualization often fall victim to a very common misconception. We are led to believe that to achieve a high-quality image, it is essential to find the right parameters, those magical numbers that, when entered into the correct fields of the rendering engine’s interface, will produce a result that satisfies us. This flawed concept, often deeply ingrained even within architectural firms, has its roots in universities, where students are forced to master technical tools (in this case, the rendering engine) without adequate instruction.
In reality, the opposite has always been true, and it’s even more so in this specific historical moment. Just look at the latest releases of V-Ray and Corona, the rendering engine that is increasingly establishing itself as an alternative in the architectural visualization industry: the developers of these rendering engines are, more than ever before, aiming to simplify the interface and the technical aspects as much as possible, allowing the visualizer to focus more on the creative process behind an image.
The need to shift the focus to the creative process, however, is not a recent development. As far back as 2012, Ciro Sannino, through his blog https://www.grafica3dblog.it/ and his publications, outlined the principles of a workflow designed to highlight the artistic aspects of an image, and this trend is stronger than ever today. These aspects are inextricably linked to the world of photography and visual arts.
The analogy with photography and the interpretation of reality: The points of contact between architectural visualization and photography are far more numerous than might be apparent after a superficial analysis, and they relate to both the technical and artistic aspects of an image. The technical analogy is particularly evident to users of 3D Studio Max, Maya, and Cinema 4D, who are already accustomed to using a “camera” system for their compositions. The parameters that govern its operation, while they may disorient and confuse less experienced users, are roughly the same as those found on any digital camera; the difference is that the software camera is a “virtual camera,” which is not subject to the limitations imposed by a DSLR. For example, the virtual camera is not subject to image degradation caused by increasing the ISO, it does not suffer from blurring problems due to shots taken without a tripod, and it allows for absolute flexibility in terms of focal length, even allowing for perspectives identical to those achieved with a tilt-shift lens. It is therefore possible to apply the technical concepts of photography directly to computer graphics images, and to incorporate them into the creative process. Rendering engines even give us the possibility of applying to our images the same techniques that, in photography, are the result of the physical limitations of the lens and optical components, such as depth of field blurring, vignetting, or the “bokeh” effect. However, what truly matters is the creative process that underlies a rendering: defining the underlying concept and following a plan for your images. And it is precisely in this that we can find the second, and perhaps the most important, analogy with the world of visual arts: the artistic and communicative aspect.
Just as in photography, in architectural visualization, the technique is not the goal itself, but rather the means through which one shapes their vision. The quality of a rendering is never determined solely by a simple combination of technical parameters, and in most cases, it should not be confused with photorealism. While striving to imitate reality is the best method for acquiring a solid understanding of the technical tools available, photorealism is not always a reliable measure for evaluating the quality of a rendering.
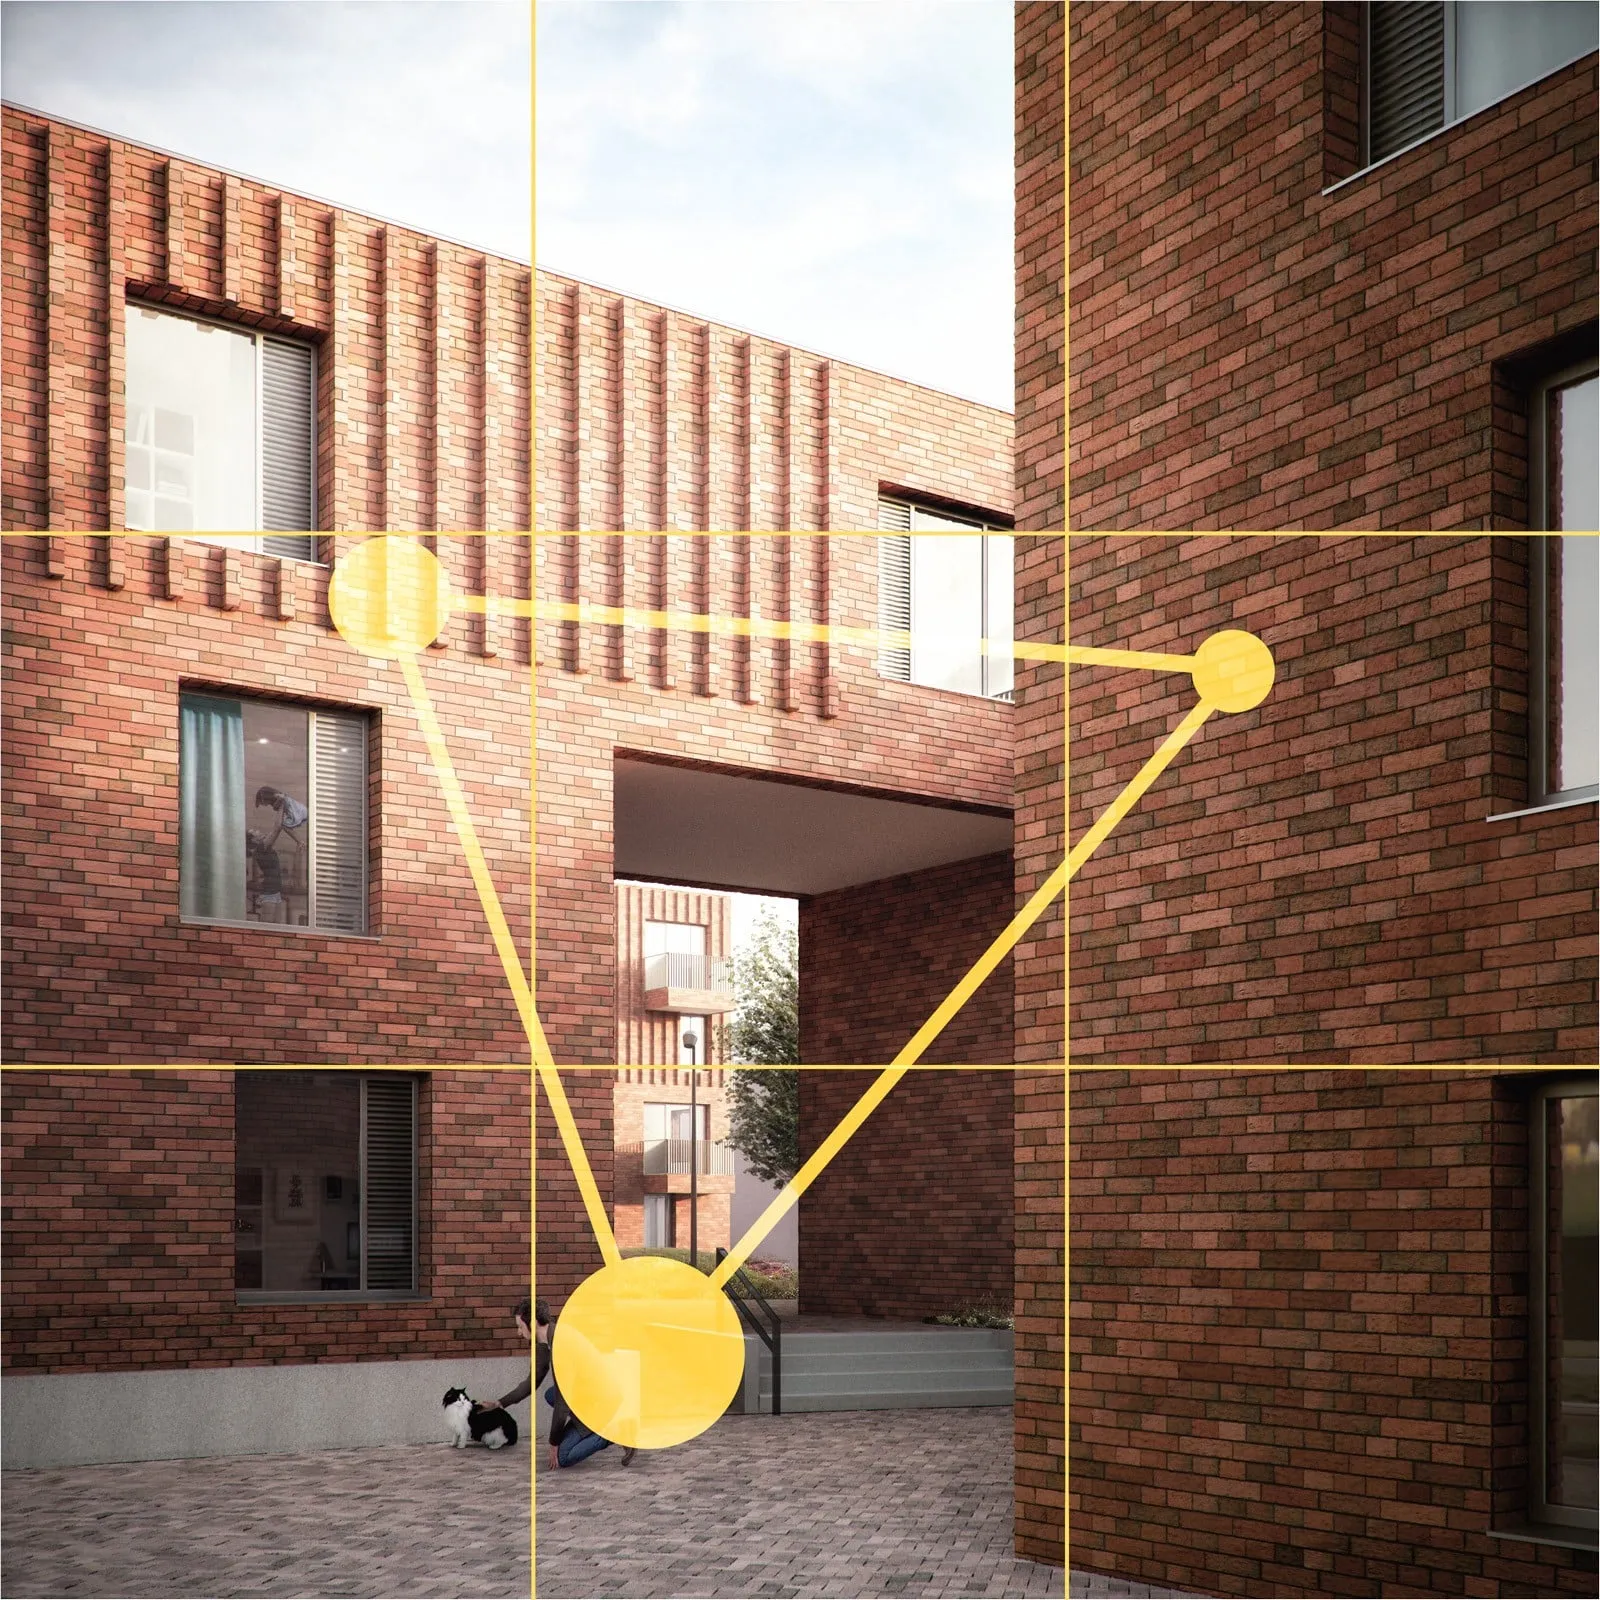
A photorealistic approach remains the preferred method for renderings intended for the real estate or product design sectors. However, in architectural renderings, there is a tendency to prefer images that maintain a certain connection to reality, while still presenting conceptual elements and distinct atmospheres, capable of conveying an emotion in addition to the project’s features. The main difference between photography and architectural visualization lies in the fact that the visualizer has the freedom to shape creative factors such as ambient lighting and the overall mood of the image – parameters that a photographer rarely has complete control over. This absolute freedom often leads less experienced individuals to get lost in the creative process, experimenting with different solutions and approaches without first understanding the desired outcome. Therefore, just as a snapshot taken without careful consideration is unlikely to be a good image, a rendering created without proper planning, a clear vision of the desired result, and a collection of references, will simply be another computer-generated image. The fewer deviations and changes from the original plan that occur during the image production process, the better the final result will be, and the more efficiently the workflow will progress. Therefore, before starting work on your images, it is necessary to establish a clear direction, finding appropriate photographic references and, subsequently, defining some fundamental artistic elements that are crucial for the success of a rendering. The foundations of a project image. The first artistic element to define during the rendering development process is the composition of the scene. Sometimes, this aspect is sacrificed to meet the client’s requests and the need to show as much as possible in a single image. When these requirements are not filtered by the visualizer’s knowledge and experience, the risk is to obtain images that are functional but not visually appealing, characterized by distorted framing (due to unlikely focal lengths) and completely unbalanced perspectives. Photography relies on compositional rules that have been established and refined through practice, and would require a separate article to fully explore and explain. Fortunately, the internet is rich with detailed resources on this topic; for those who are new to the principles of image composition, this tutorial by Blender Guru provides an excellent starting point. Creating a well-structured composition, however, is not simply about choosing a framing and strictly adhering to rules, but also about ensuring a certain visual balance that, through the presence of graphic references, objects, human figures, and color points, directs attention in the right way: a good composition guides the viewer through the image, creating a kind of loop that connects the most important elements. Finally, determining the viewpoint from the beginning also has a technical advantage: it allows you to focus the majority of the 3D modeling work on the area captured by the camera.
Once the image composition is established, the next step is to study the lighting conditions. Initially, it is necessary to determine the characteristics of the natural light and understand how to use the tools offered by the rendering engine to reproduce a specific type of illumination. In particular, the first decision involves choosing the method for simulating ambient light. This could be a virtual sun that produces direct shadows, or a light based on 360-degree photographs that simulate specific lighting conditions (known as “image-based lighting”), such as a sunset, a cloudy day, or even nighttime. Although presented with different names, these tools are common to all rendering engines. Once the contribution of natural light is determined, the design of artificial lighting is developed. In this case as well, analyzing real-world examples and techniques from architectural photography will help to create lighting that enhances the spaces. As a general rule, front lighting (with light parallel to the camera plane) should be avoided, as it completely eliminates shadows and depth. The key to achieving good artificial lighting is to establish a hierarchy of lights: which light sources will illuminate the scene predominantly, creating strong contrasts of light and shadow? Which light sources will soften the most intense shadows? Regardless of the lighting conditions, they must always be consistent throughout the image. It is not uncommon for clients to suggest modifying the lighting in post-production, in order to brighten a particular area of the rendering that they consider “too dark” (clients and architects often seem very wary of overly dramatic contrasts): these requests should be evaluated on a case-by-case basis, to determine whether increasing the brightness of a particular area of the image will result in a coherent outcome with the overall lighting of the scene, or whether it might be necessary to take a step back and revise the lighting design in the 3D model.
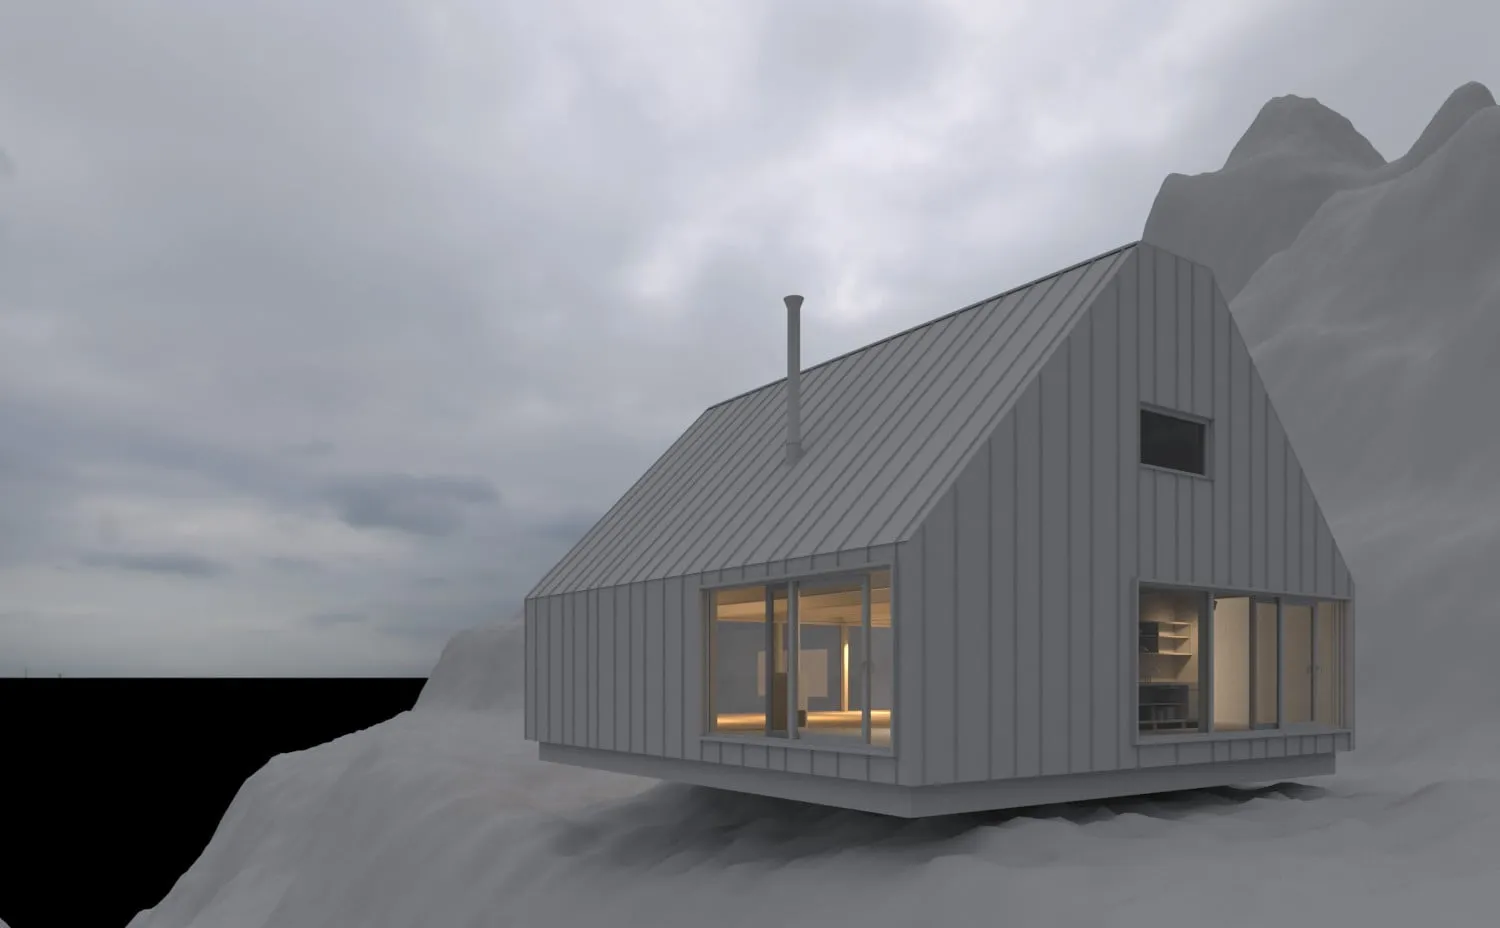
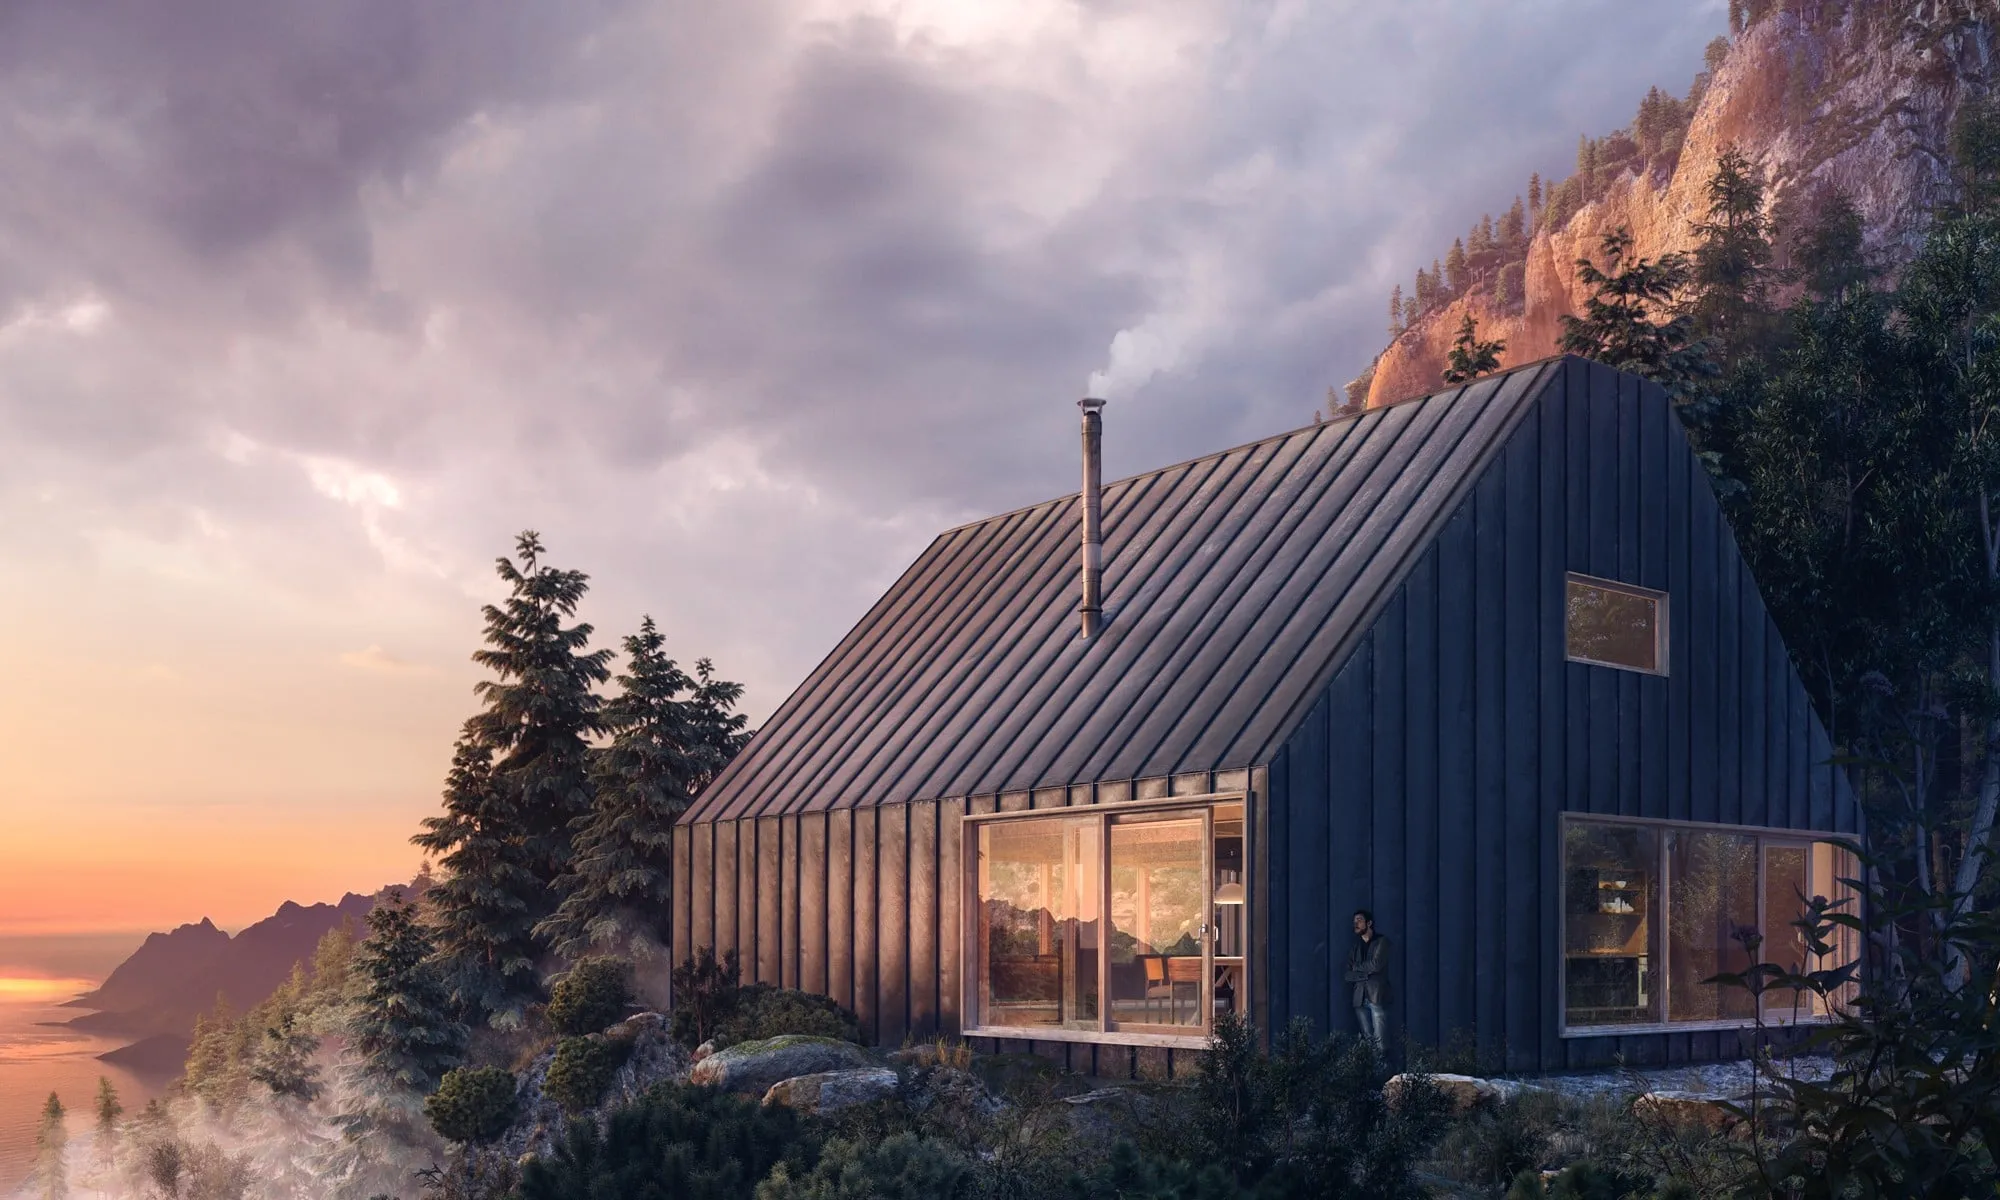
The most difficult element to incorporate, as it is closely linked to the two previous factors, is the atmosphere of the image. Among the factors listed so far, the mood is the most difficult to define, as it is also the result of the decisions made up to this point: certain compositions can suggest a sense of calm and stillness, while others are more suitable for emphasizing the dynamism of a scene. Similarly, the lighting used in the scene, particularly its color temperature (another concept borrowed directly from photography and applied to rendering engines), decisively influences the color palette of an image. These choices, which in themselves contribute significantly to shaping the atmosphere of the image, are then filtered through a personal vision of reality, especially through post-production. By adjusting the color tones and lighting, and adding details and environmental effects, the visualizer puts the finishing touches on their work. In this context, if we were to draw a parallel with the world of visual arts, creating an atmosphere means giving a personal interpretation of the virtual reality produced by the rendering engine.
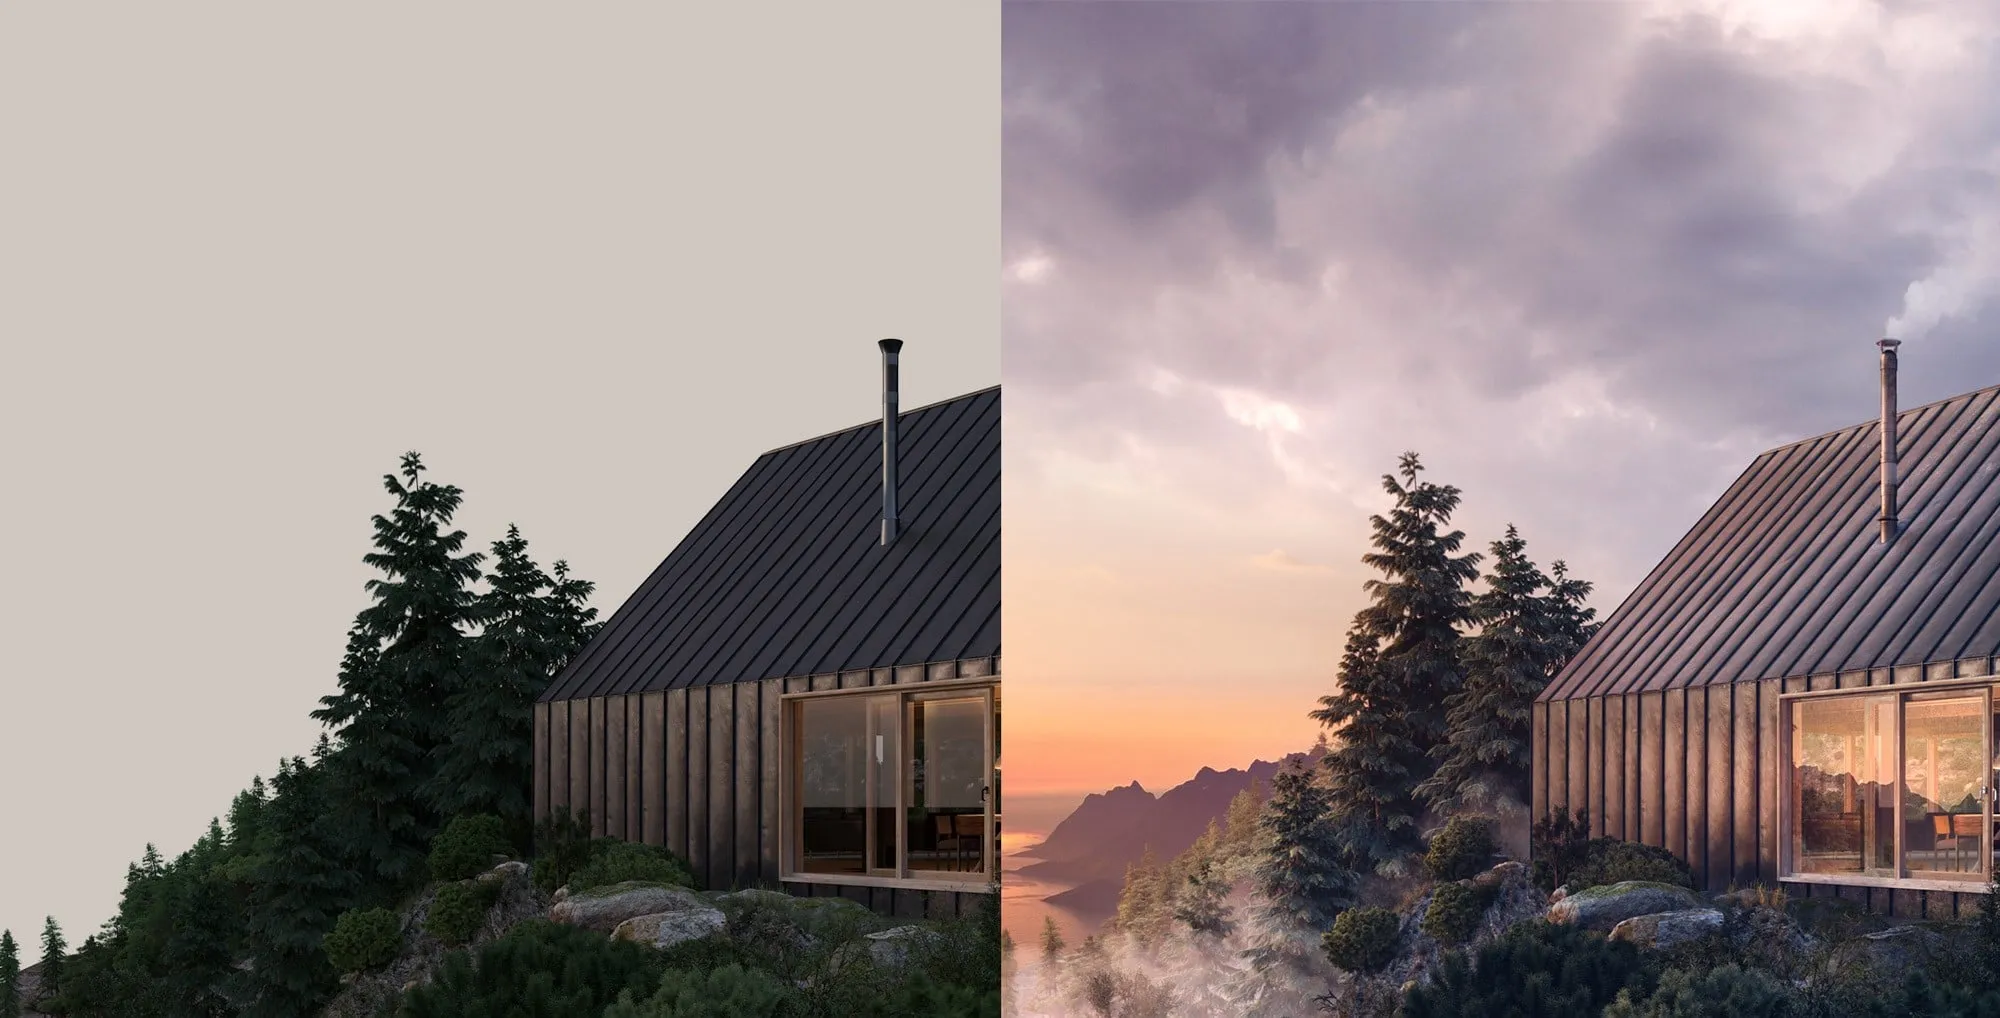
Like a budding Turner or Monet, the experienced visualizer is able to partially sacrifice realism in order to create a memorable atmosphere, without compromising the credibility of the image. And perhaps this is the most challenging task: to create a mood that bears the unmistakable mark of the artist, through the pursuit of a unique style. This is a process that can take years, just as it has for generations and generations of artists. See you on my blog!